
Loops Lab #
In this lab, we will learn how to make the computer do the same instruction over and over.
In Python, when you want to run the same code multiple times, we use loops. If you have used Scratch before, you have seen loops before:
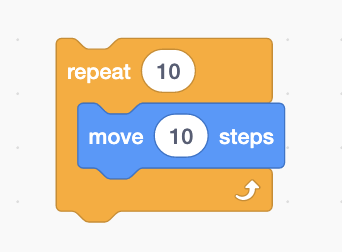
How does a loop work in python? Let’s see.
[0] Setup #
💻 Start by going into your unit00_drawing folder.
cd ~/desktop/making_with_code/unit00_drawing/
git clone https://github.com/the-isf-academy/lab_loops.git
cd lab_loops
💻 Enter the Poetry Shell to start the lab. As a reminder, we will run this command at the start of each lab, but only when we are inside a lab folder.
poetry shell
👾 💬 Exiting the poetry shellWhen you want to exit the shell, you can type
exitor^D
💻 Take a look at the files inside with:
ls
repetition.pysquare.pygeometric_sequence.pyextension_fibonacci_sequence.py
[1] How to loop #
Repetition #
💻 Let's start by opening
repetition.py in Atom.
code repetition.py
python repetition.py
This loop runs 10 times, repeating everything indented to the right of the for i in range(10): line.
i is a variable that gets incremented by one every time the loop runs.
💻 Edit the code to make the loop run a different number of times. Maybe 5 or 14. Can you figure out how to do it?
💻 Edit the loop again to print the square of numbers 0-12. Remember, the square of a number, is the number multiplied by itself.
When you run python repetition.py it should output:
0
1
4
9
16
25
36
49
64
81
100
121
144
Looping a Square #
💻 Use code to open square.py
code square.py
Take a look at the code we’ve been using to draw a square:
forward(100)
right(90)
forward(100)
right(90)
forward(100)
right(90)
forward(100)
right(90)
Pretty repetitive, right?
💻 Edit the code so that it uses a loop to draw a square, instead of repeating the same code over and over again.
[2] Geometric Sequence #
Loops are particularly useful when we need to do things over time. To see this, we’re going to explore numerical sequences.
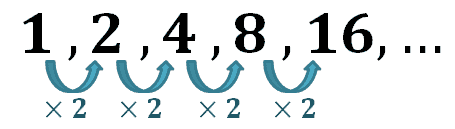
Geometric sequences are sequences where there is a common ratio between each
number in the sequence. A geometric sequence always begins with 1. Each subsequent number in the sequence is calculated by finding the product of the number that precedes it and the ratio.
For example,
1, 2, 4, 16,...is a geometric sequence where each number is 2 times the number before it.The ratio between the sequence is 2
In geometric_sequence.py, you will write a program that displays 10 digits of any geometric sequence and then visualizes the sequence in a drawing.
Pseudocode #
Pseudocode is an outline of the program we plan to write. When writing pseudocode, we don’t worry about using Python syntax. You can write in regular words to figure out the logic of the problem, then translate it into the correct syntax.
💻 To get started, open up geometric_sequence.py.
code geometric_sequence.py
👀 We have provided you with the pseudocode of the logic of the geometric sequence.
# store the starting number, 1, in a variable called num
# ask the user what the ratio should be and store it in a variable called ratio
# loop 10 times
    # print num
    # update the value of num to num + ratio
👾 💬 FYI: CommentsIf you don’t want code to be executed when you run a program, you can comment it out by placing
#at the beginning of the line.This can be used as a debugging strategy or as a note-taking tool.
Code #
💻 After you are confident you understand the logic of the pseudocode, translate it into python code. We suggest translating one line of pseudocode at a time.
Here is an example of what the program will output when run:
$ python geometric_sequences.py
What should the ratio of the sequence be? 4
1
4
16
64
256
1024
4096
16384
65536
262144
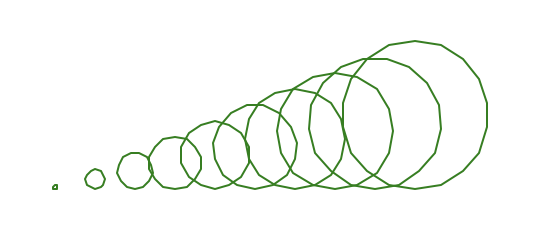
Visualize the Geometric Sequence #
Geometric Sequences are great for creating interesting visualizations.
💻 Using the Turtle library, create a visualization of the Geometric Sequence.
You may want to go back to Lab 00. Turtle for the list of Turtle commands. A few ideas:
- different size circles
- different colors
- a line chart
[3] Deliverables #
⚡✨ When are you finished with the lab:✔️ Fill out this Google form
✏️ Add a piece of your code and a screenshot to the
CS Year 1 Code Login your Google Drive. Add a comment. You can:
- ask a question about your code
- write a tip to your future self
- explain a bug you fixed in your code
- describe a piece of code you are proud of
[4] Extension: Fibonacci Sequence #
For the extension, explore a more complicated sequence, the Fibonacci sequence. This sequence has all kinds of interesting properties.
The Fibonacci sequence begins with two numbers, 0 and 1. Each subsequent number in the sequence is calculated by finding the sum of the two numbers that precede it.
For example the first 5 digits of the sequence are: 0, 1, 1, 2, 3
It is up to you to write the algorithm to determine the digits in the Fibonacci sequence.
Pseudocode #
💻 Open the file:code extension_fibonacci_sequence.py
💻 In extension_fibonacci_sequence.py, use comments to write the pseudocode to calculate the first 10 digits of the Fibonacci sequence.
Code #
💻 After you are confident your pseduocode has the correct logic, translate it into Python code.Here is an example of what the program will output when run:
$ python extension_fibonacci_sequence.py
0
1
1
2
3
5
8
13
21
34
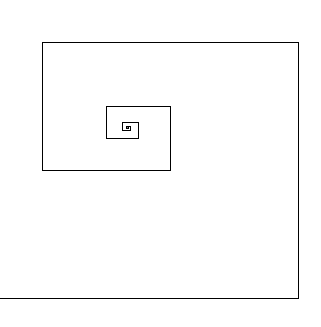
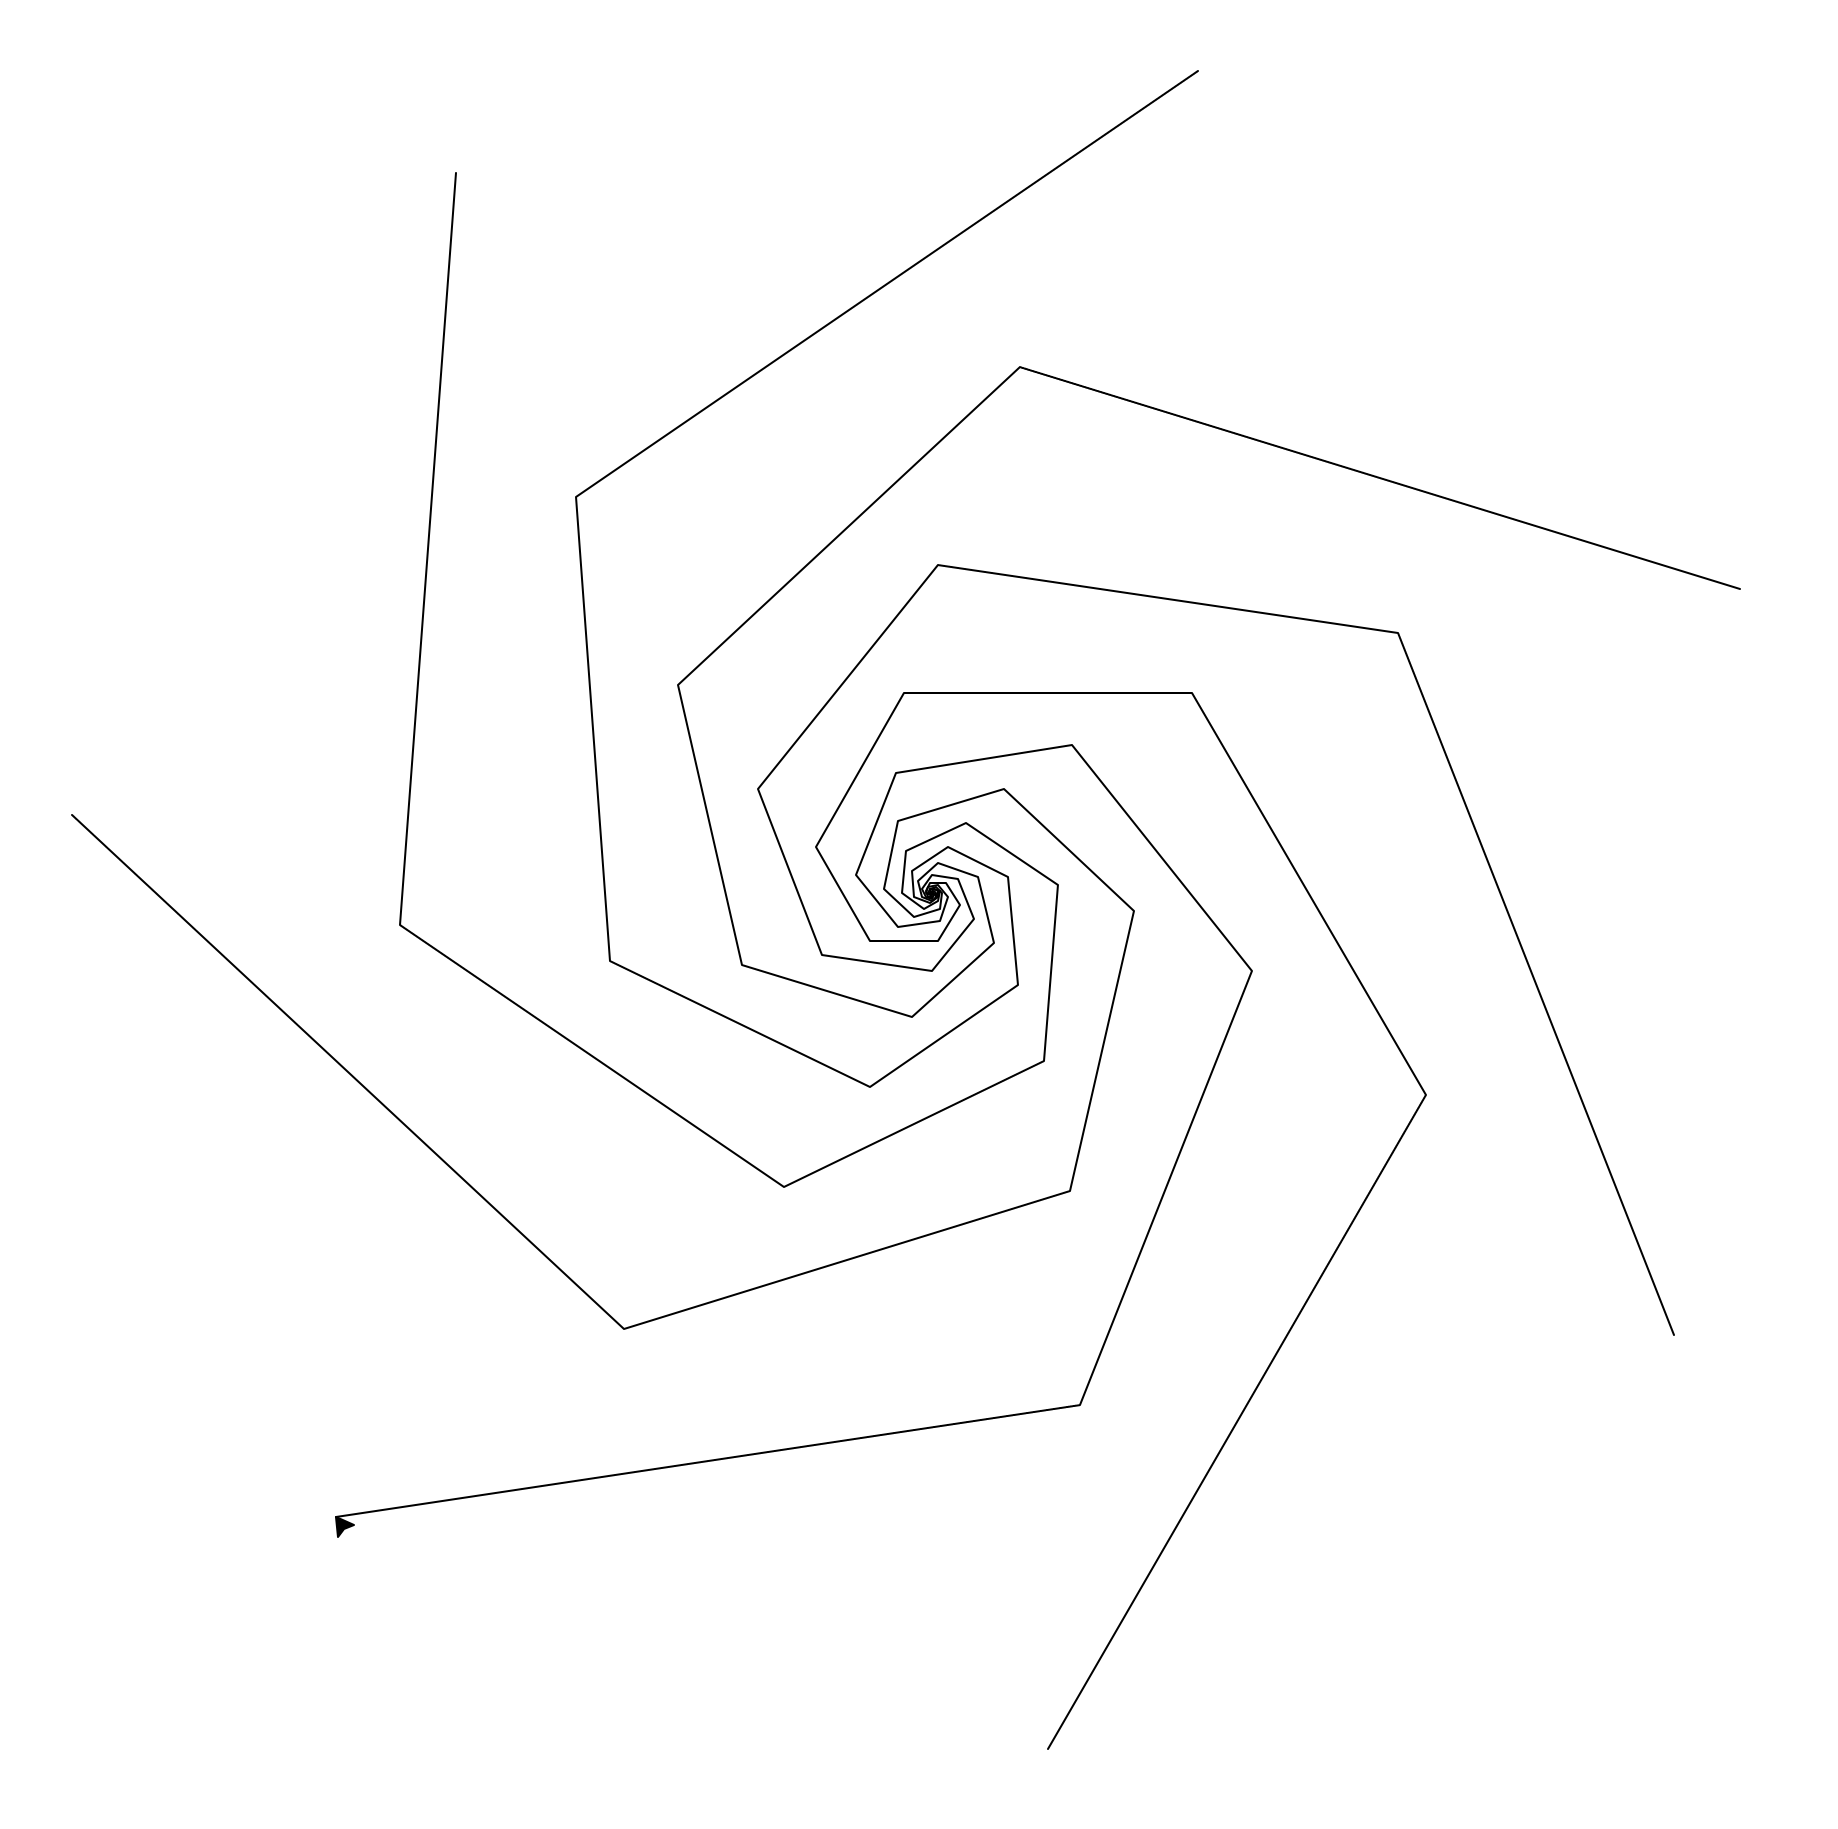
Visualize the Fibonacci Sequence #
Use your working code to draw a pattern that utilizes the Fibonacci sequence.
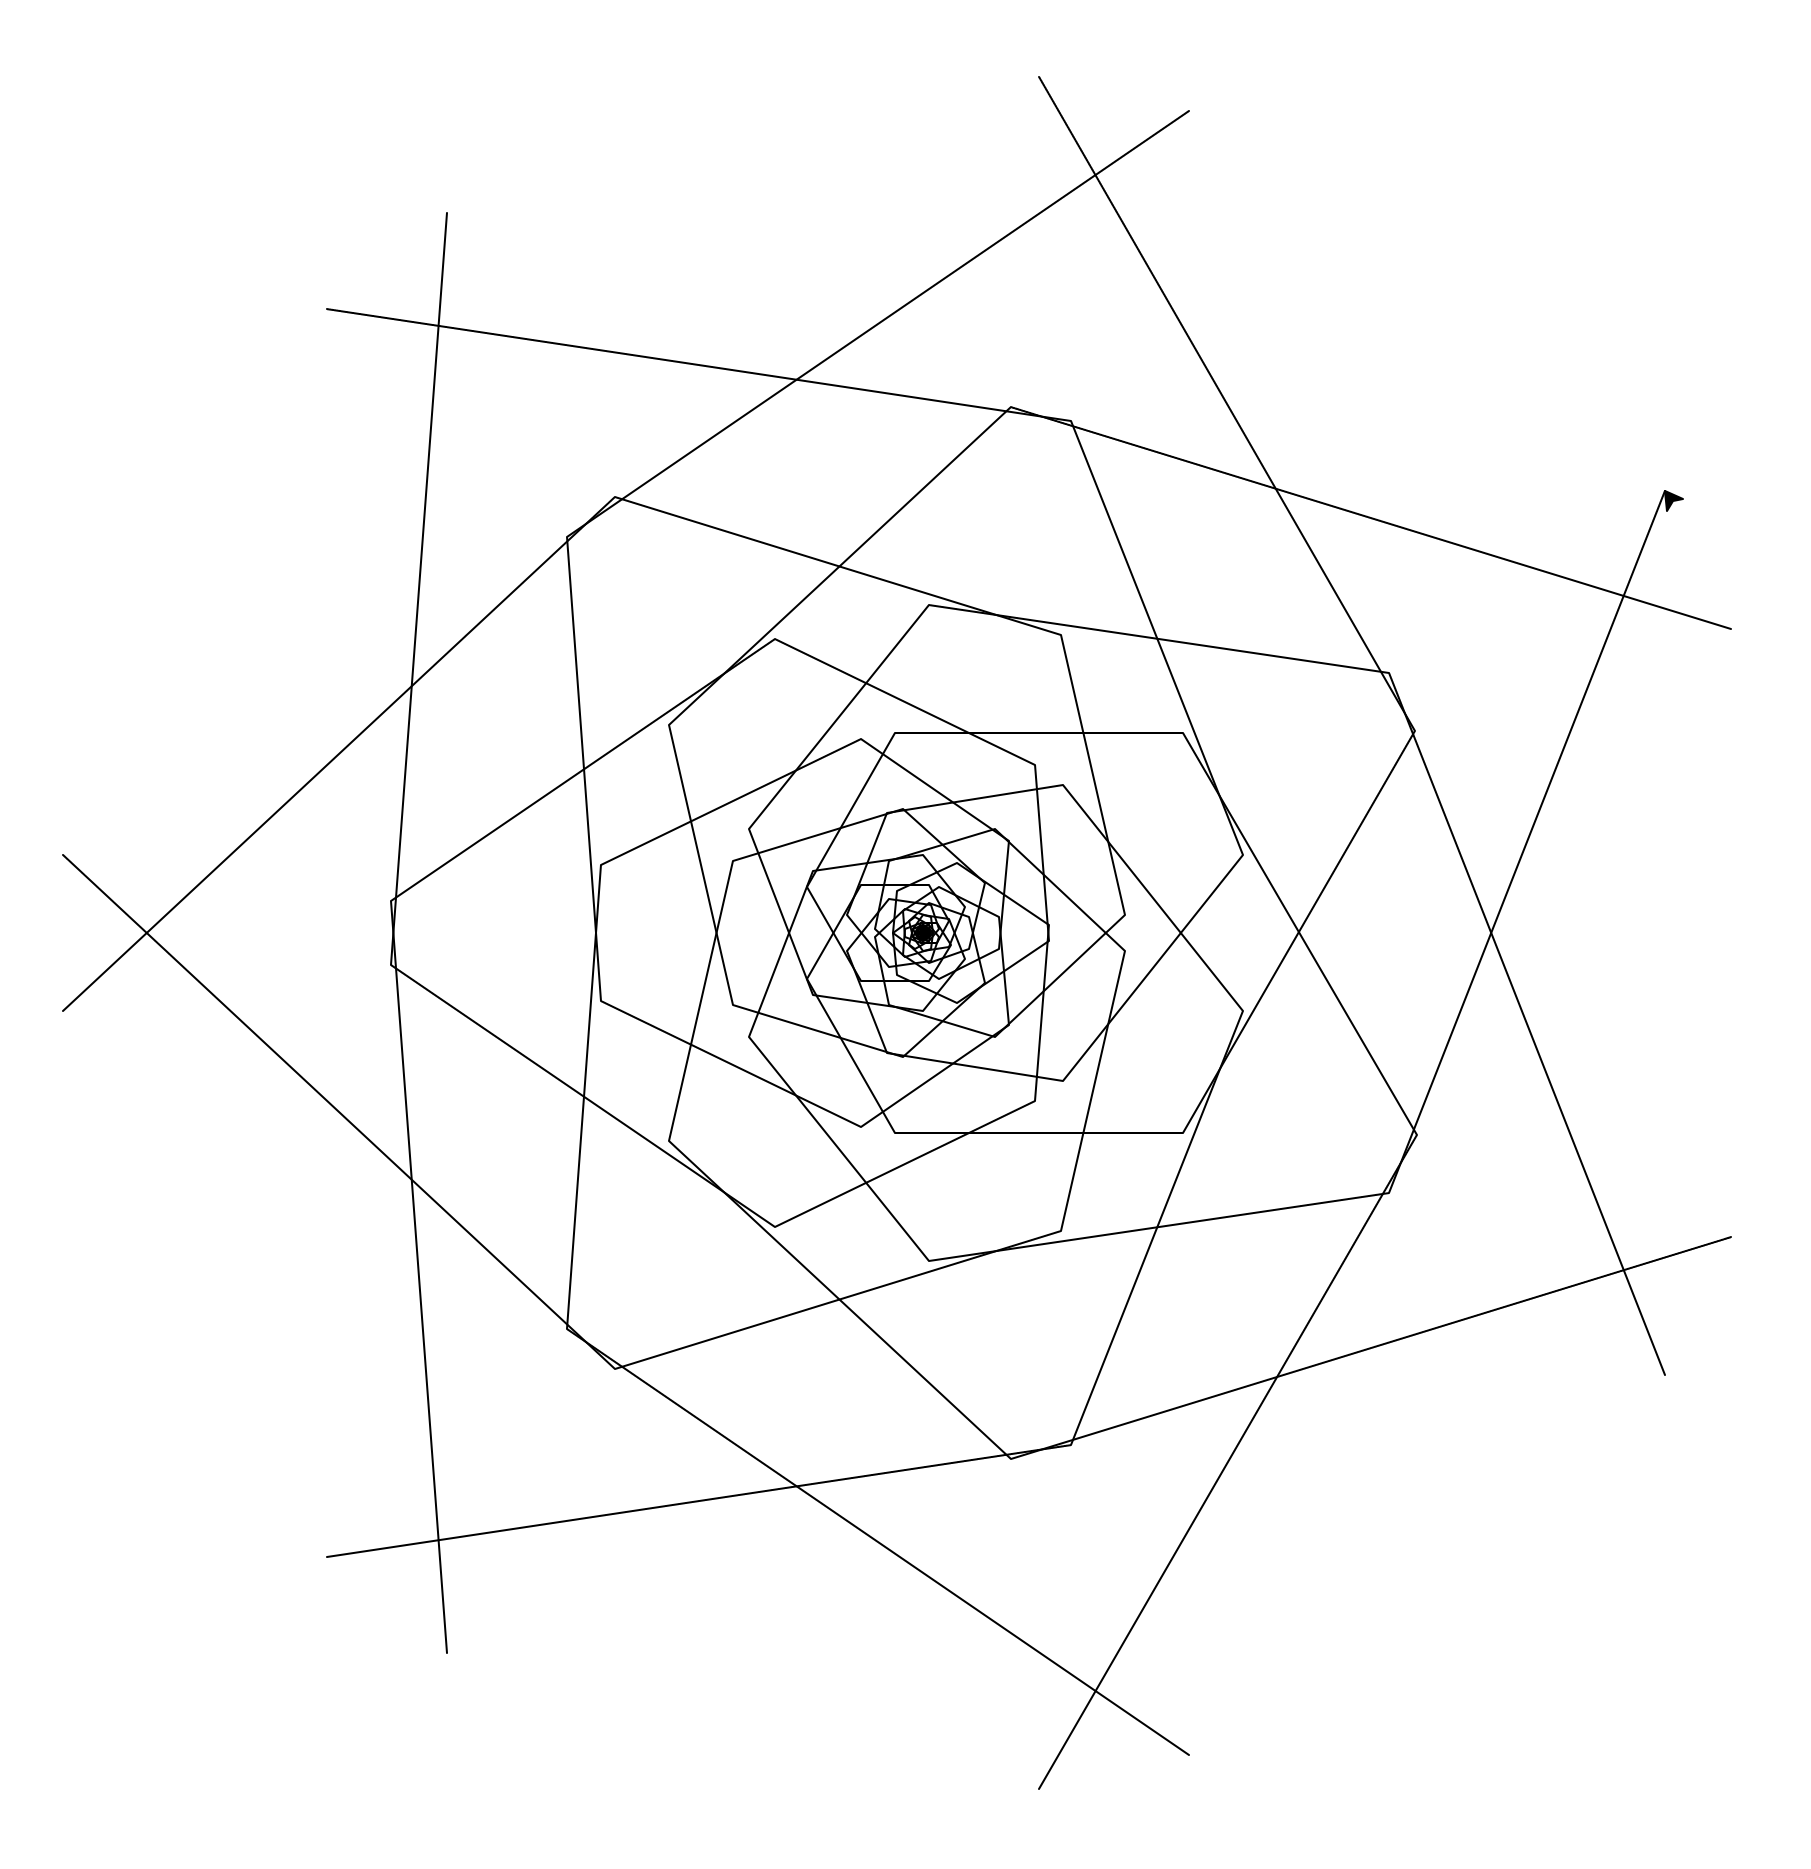
💻 First, use your Fibonacci code to draw a single spiral. You can do this by drawing a line for each number in the Fibonacci sequence and connecting the lines at a consistent angle.

Multiple spirals #
💻 Loop the drawing code to draw multiple spirals originating from the center.Now, the Turtle should draw something like this:
👾 💬 FYI: Moving the TurtleYou can return your turtle to the center of the window using
goto(0, 0). You can also usepenup()andpendown()to keep the turtle from drawing as it returns to the center.
Clockwise and counterclockwise #
To get a pinecone or flower effect, you can try spiralling clockwise and counterclockwise.
💻 Repeat your spiral code, changing it to make your spirals turn in the other direction.Feel free to add colors and personalize the visualization however you would like!